Portacandele
Livello di difficoltà: Principiante
Crea un centrotavola accattivante con questo progetto semplice e personalizzabile.
Prodotti suggeriti
Di cosa hai bisogno:
- 3 assi di legno (ad esempio da un vecchio pallet)
- Foglio di compensato da 18 mm
- Carta vetrata grammatura 120
- Viti per legno da 4 mm x 30 mm (circa 20)
- Tinta per legno o altra finitura
- Vernice trasparente a base d'acqua
- Maniglie X2
- Candele e decorazioni
Istruzioni Step-by-Step
Step 1
Carteggia le tavole di legno per levigare la superficie e far risaltare le venature.


Step 2
Rifila due tavole a 75 cm e due a 15 cm, oppure adattale alla misura che preferisci!
Step 3
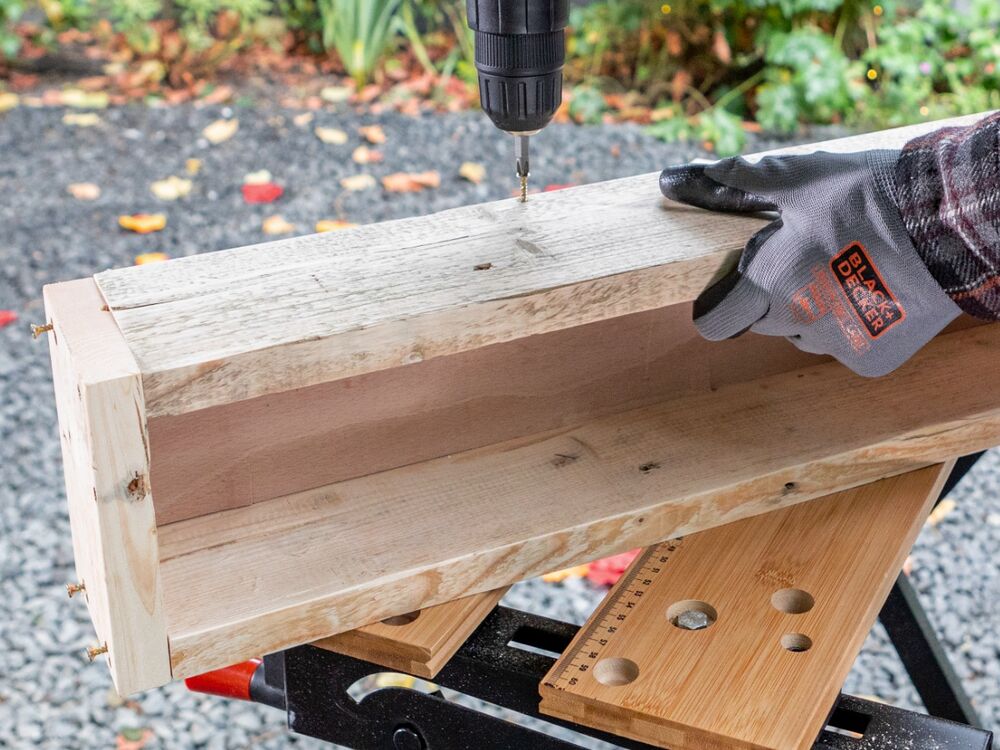
Fissa le tavole con le viti per legno per formare una cornice rettangolare.

Step 4
Misura e taglia il compensato per inserirlo nella parte inferiore del telaio come base. Fissalo al telaio con le viti per legno.
Step 5
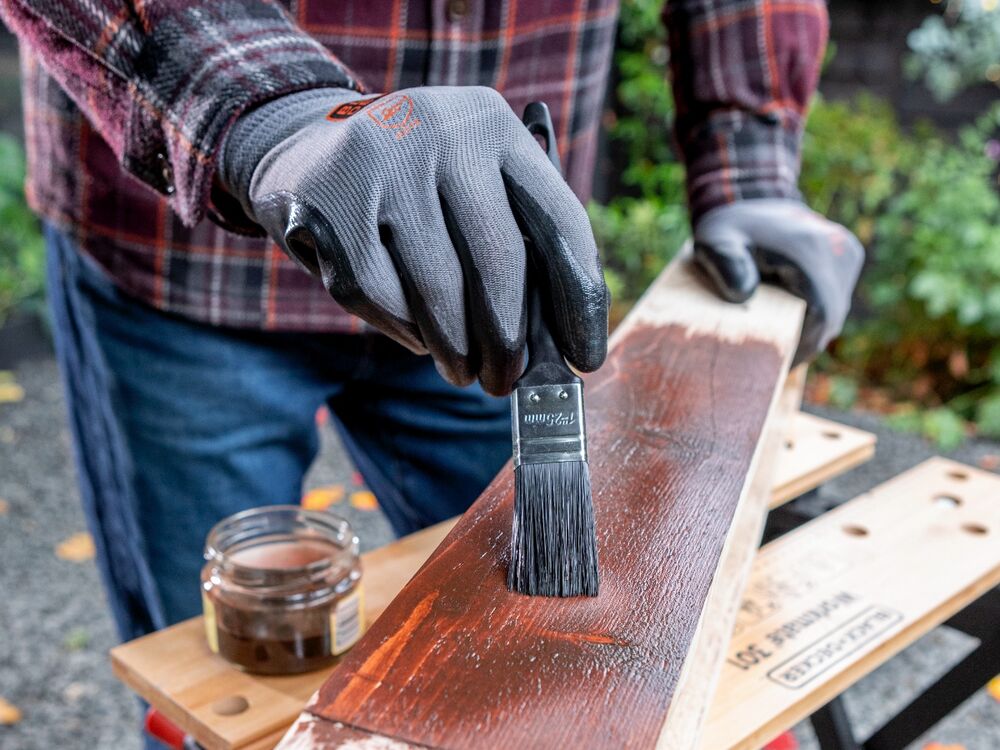
Scegli una vernice per legno e applicala con un pennello. Una volta asciutto, si consiglia di aggiungere una vernice trasparente a base d'acqua per proteggerlo dai graffi e dalla cera di candela.

Step 6
Attacca i manici ai due lati del portacandele.
Step 7
Aggiungi le candele e le decorazioni! Puoi adattarlo a qualsiasi occasione e sfruttare il tuo portacandele tutto l'anno.


